


November 2025 #1
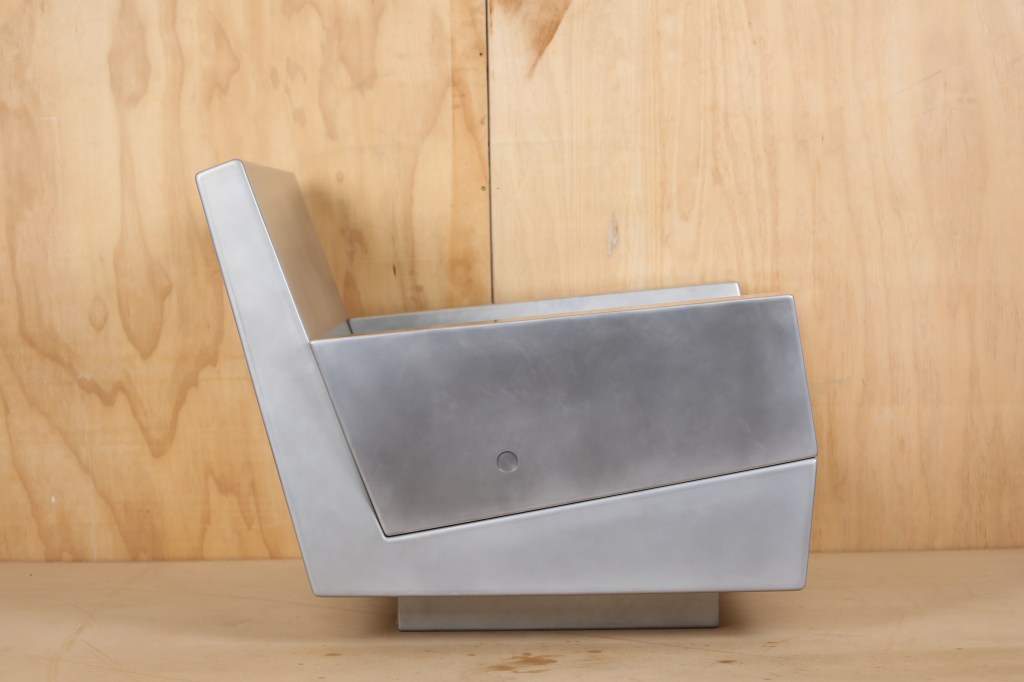
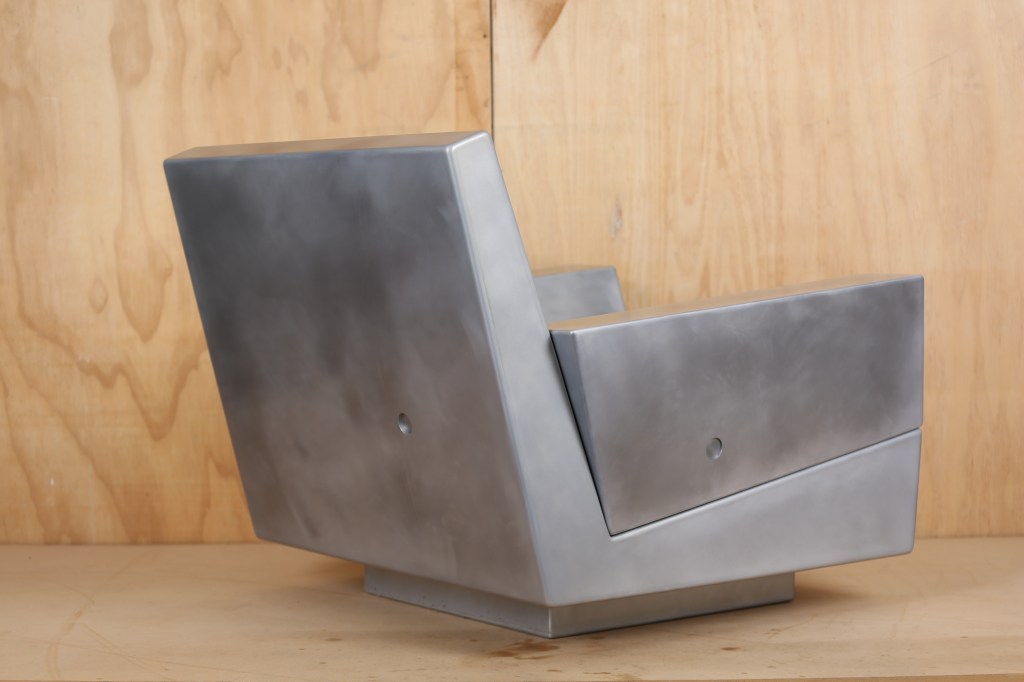
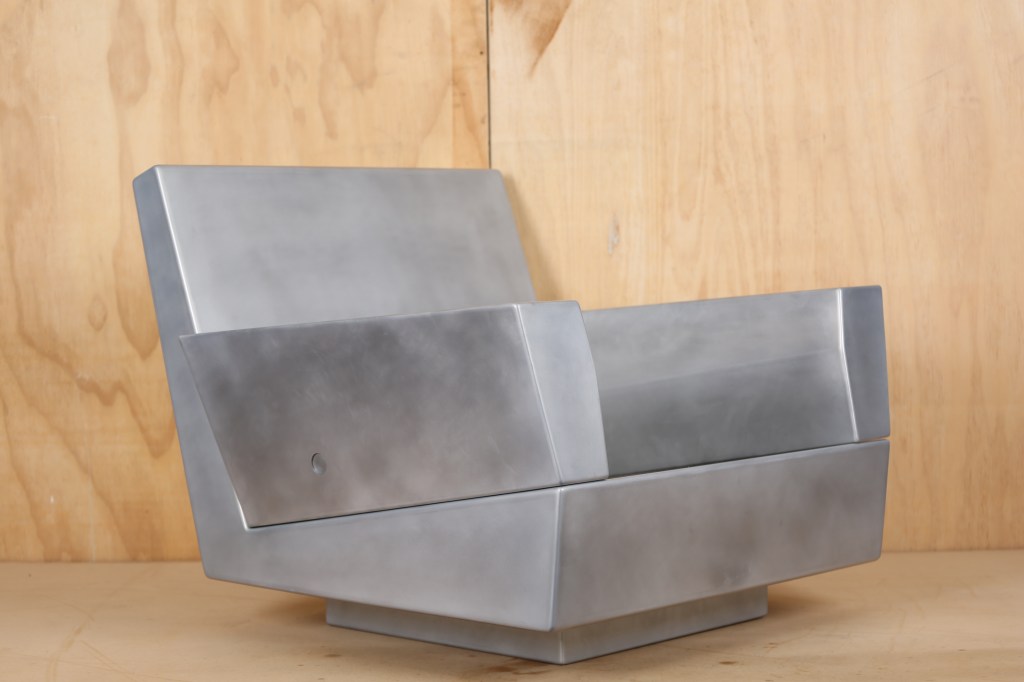
I’ll be honest, the BF1 armchair has been an extremely slow project with the first MDF prototype being built early July 2025. The initial MDF form went through various alterations immediately. Seating angles, heights and various dimensions to name a few. The two MDF forms were constructed over several days in the workshop, these were essential for me to assess the relationship between the main form and armrests. The 3D CAD model was created prior to the MDF forms being constructed, this was quickly modified after the MDF form forced certain design changes to be made to the original model. I must mention the one major design change, this involved lifting the main seating form off the ground and adding a base form beneath, the reasoning behind this was purely aesthetic. The altered form now gave the armchair a hovering illusion which I feel allows the user to not feel overwhelmed by the large austere form arising from the ground beneath.
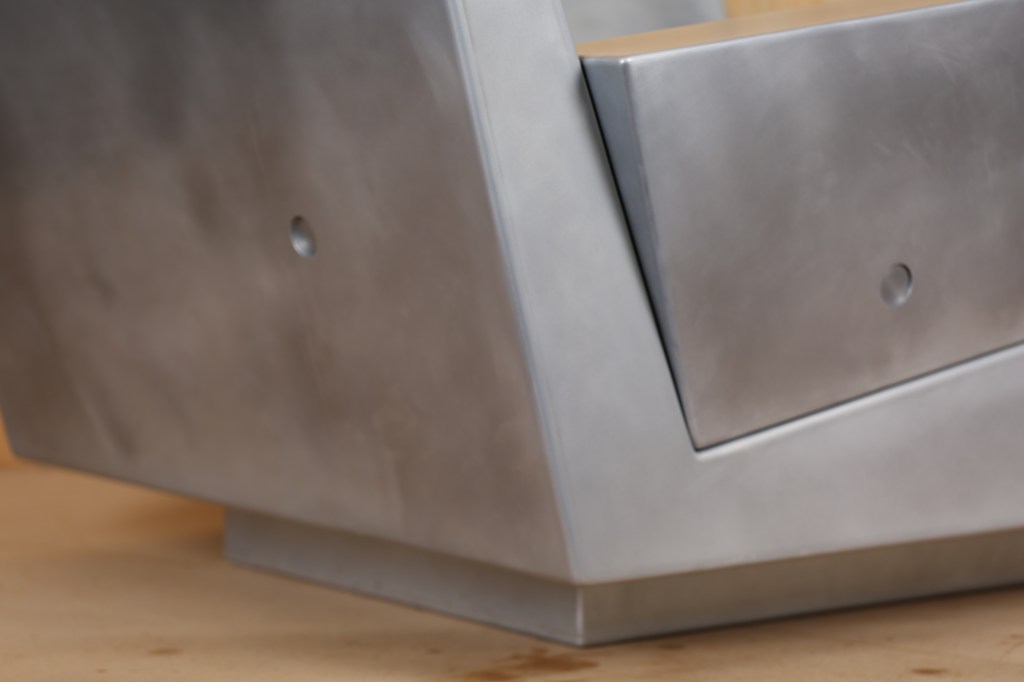
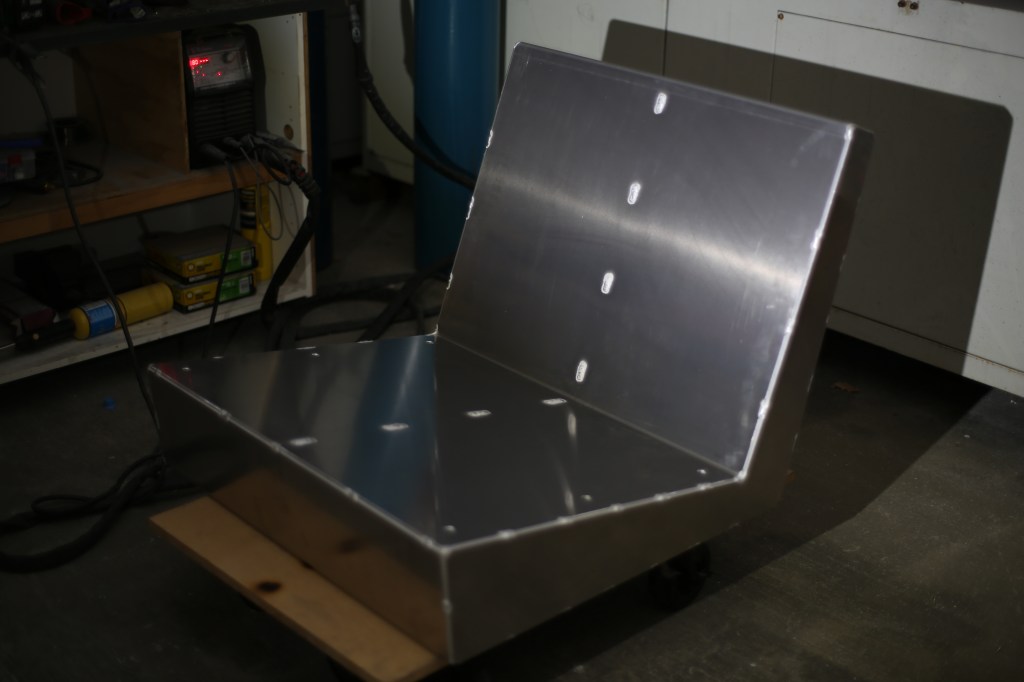
The 3D model was altered over the next week with all changes being made to the original concept. Once I was happy with all cut files these were sent away to be processed. The plates arrived at my workshop within a few weeks. My excitement was building when the aluminium plates were sitting on the workbench ready for me to assemble. Before the plates were to come together they required edges to be de-burred and holes chamfered, once this process was done I could move on to prepping edges for welding and tacking plates together in strict order. The next two days was spent under the welding helmet listening to the buzzing sound of the AC tig welder. The welding was slow and methodical with a meditative under current with every dab of filler. Once all of the welding was completed it was now on to the task of linishing the welds to start the metal finishing process. The dirty process of removing the excess weld filler is tedious and requires focus. A subtle angle change of the handheld linisher can result in the base material being gouged past the weld area causing a time consuming job of sanding these marks out before moving through the sanding process any further. A long day was spent linishing the welds down enough ready for the next process. To achieve a straight and clean edge for joining these forms together required me to block sand the welds after linishing, this process alone took 3-4 hours to complete. Next was to use the orbital sander and start by sanding all edges with 80 grit, once the edges were sanded it was just a matter of sanding the rest of the components to a fine 400 grit finish. The smooth and linear aluminium finish I was after requires a high level of attention while sanding to make sure any marks are removed prior to moving up through the grades of sandpaper.
After the time consuming process of sanding was completed it was now ready for test assembly before powder coating. This assembly was frustrating and revealed some minor issues regarding access to certain fasteners etc. These issues were noted and will be rectified for the final production. The form was disassembled and ready for powder coating. This process can also be problematic for raw aluminium, the handling of the aluminium has to be taken with extreme care as any touching of the aluminium without gloves will stain and show up in the final appearance.
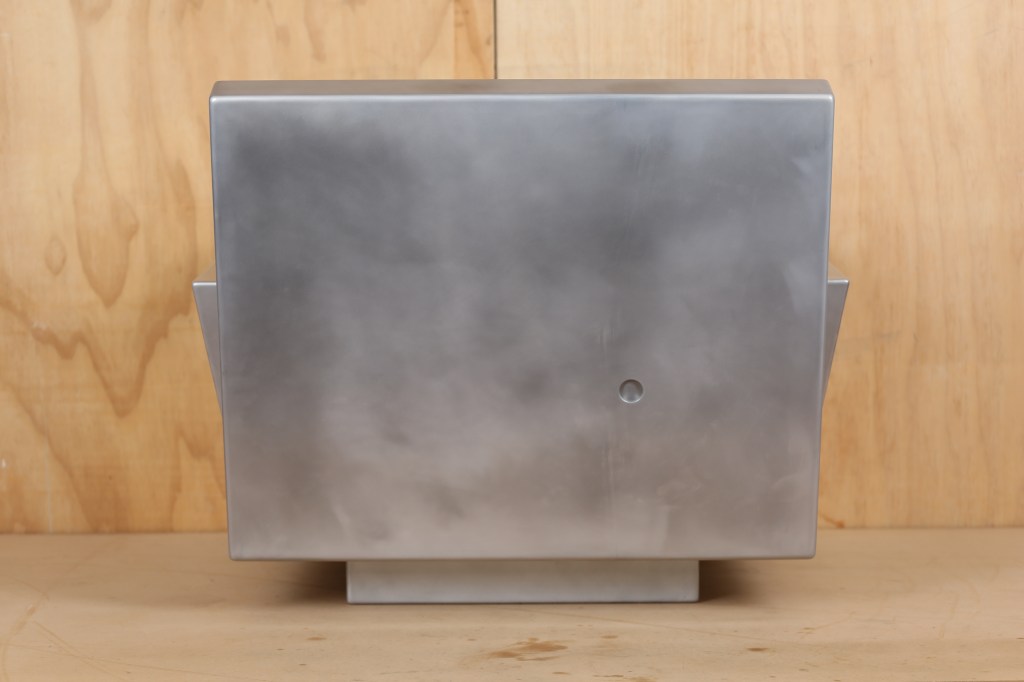
The powder coating of the first prototype turned out great and was assembled for the first time the day I received all components back from powder coating. Once assembled and shifted in to a clean room I could really appreciate the accentuated “box” like form. This form really does hold it’s own in the room, grounding itself within the space it resides. The mottled appearance of the raw aluminium really does grab your attention by guiding you through the subtle difference in shading of each surface area.